Back in college I picked up a book called The GI Diet by Rick Gallop. I was looking to lose the “freshman fifteen” and this seemed like a pretty good book. It was actually written for people who want to control their diabetes. The book talked about food and “Glycemic index” which is a number associated with the carbs in food that indicates the effect on a person’s blood sugar. In a nutshell, the book says that sticking to low glycemic foods is best and high glycemic foods should be avoided.
I stuck to the book over that summer was able to lose about 15 lbs. Most likely because I unknowingly had PCOS (which is similar to type 2 diabetes) that wouldn’t be diagnosed until years later.
The book is probably a little out-dated by now, and many other diets have become more popular. However, I do still stick to most of the principals to this day, such as eating whole grains instead of white flour and pasta. One of the things I loved most about that book was that it introduced me to sourdough bread. I had never really tried it before reading that book, and let’s be honest, it doesn’t sound that appetizing, but it’s actually delicious!
The Benefits of Sourdough
According to the book sourdough bread has a glycemic index of 53, making it a low-glycemic-index food and should only cause a gradual increase in blood sugar levels rather than a spike.
After I was diagnosed with MS, I started reading a lot about fermented foods and the positive health impacts. I hadn’t realized before that sourdough is actually a fermented food and is full of probiotics. I decided it would be fun to try and make. I don’t like buying processed foods, I try to make everything from scratch if I can. Plus, I LOVE to bake, and bread was one of those things that I hadn’t yet tackled.
I started searching online for how-tos and recipes. Apparently, you can buy or borrow the “starter”, or you can make your own. Me being the crazy “from scratch” girl that I am, of course decided to start my own. I settled on the website called Serious Eats and used their method. Nearly three years later my starter is still going strong, and I make 8-10 loaves of sourdough every few weeks! Here’s how I do it:
My Sourdough Method
It’s been a while since I created my starter, so I don’t remember exactly how that part went, but basically I had some flour and water in a jar, which I fed twice a day with flour and water and kept in a warm spot. After about three weeks it was finally ready to turn into bread!
I usually make bread every couple of weeks. I keep the starter in the fridge in a sealed mason jar so the yeast goes dormant and I don’t have to feed it every day. I take it out in the morning that I want to start bread. It usually opens with a loud pop and sometimes the starter even springs up! I let it get to room temperature after about two hours, then I give it a stir and add about ½ cup of bread flour (white with a little bit of whole wheat mixed in) and ¼ cup of filtered room temperature water. Then I put it (with the lid slightly on) in its little home beside my deepfreeze where there’s a vent with a bit of heat coming off of it. This spot provides the right amount of warmth to get those yeasties going!

Sourdough Starter
In the evening, the starter has most likely doubled in size. I add eight ounces (I use a food scale for accuracy) of the starter to a large glass bowl. Next, I add four ounces of white bread flour (or whole wheat, multigrain, etc.) and two ounces of room temp filtered water. Then I get my husband to mix it by hand because it makes my arm tired, and he’s gotten really good at it over the years!
Then, I put 16oz of flour in a separate bowl and set it aside, and eight ounces of water in a glass, cover them both and put them away until the morning. I do this in the evening just to save time. I cover the newly made “prepared starter” and put it in the warm spot beside the freezer. Next I feed the main starter with flour and water and put that away too.
The next morning, the prepared starter has usually doubled in size and looks bubbly.

Prepared Starter
I put the bowl on my Kitchen-Aid mixer (her name is Veronica) and add the flour and water I measured the night before. Using the dough hook I turn the mixer on to “mix” and let it go until it forms a ball. Then I add two tbsp of grapeseed oil and two tsp of sea salt. I mix it until it’s all combined into a stretchy clump. I then dump out the dough onto the counter, kneed it and form it into a smooth ball. I add a tiny bit of oil to the bowl so it doesn’t stick, throw the dough in, cover and let it sit in the warm spot for about 4-5 hours. I’ll also feed the main starter again with flour and water. This ensures I will have enough to make another batch that evening.
Depending on the temperature of the house that day, the time will vary on how fast it will rise. The warmer the house, the faster it rises.

Rising Process
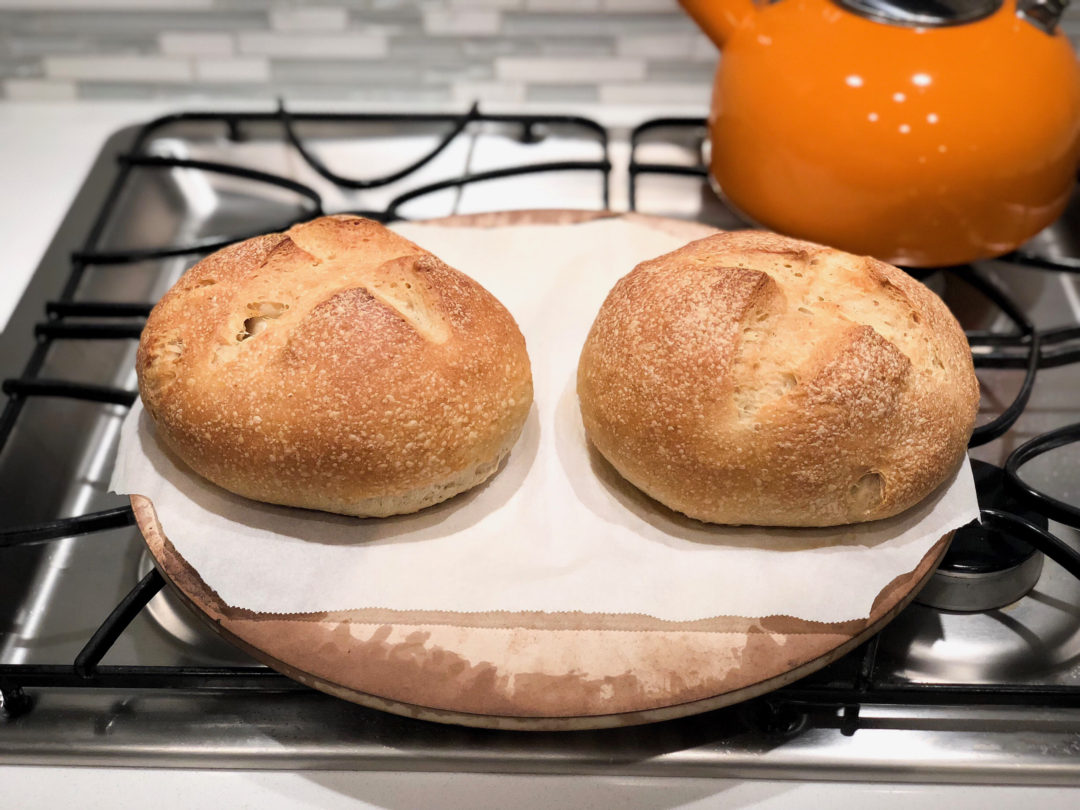
When I feel like it has about doubled in size, I’ll carefully dump the dough onto the counter, and cut it in half with a serrated knife. Then I’ll gently form both sides into balls, place them on a pizza stone covered in parchment paper, and cover both with saran wrap. Then I let them rise for about three hours. When they’re ready, I preheat the oven to 375 degrees F and cut an “X” in each dough ball. I put them in the oven for about 40 minutes.
And that’s it! They usually look amazing, and sometimes they look like crap, but they always taste fantastic. I usually let them cool, leave one loaf out for the morning and freeze the other one.

Sourdough made with sprouted flour
We usually go through about ¾ to one loaf per day. I will make enough to last a couple weeks. It’s not THAT time consuming, but I certainly don’t want to be making this every single day. If we run out, or I don’t feel like making it during busy weeks, we usually buy Sprouted Hills Squirly bread. Sprouted grains are supposedly healthier than regular grains because they provide more nutrients and have more protein than regular breads, so we feel good about eating this.
When I’m done making bread, I transfer the starter to a clean mason jar, seal it tightly and pop it into the fridge. I’ve let it go three weeks in there before with no issues, so fingers crossed it will survive when we go to Europe for a month next spring!
Some Tips That Have Worked for Me
-always keep your starter and dough in glass, the yeast can react with metal
-use filtered water (apparently yeast doesn’t like chlorine)
-use room temperature water, yeast doesn’t like cold either
-use bread flour, I haven’t tried regular flour, but I’ve heard you don’t get the same results
-try not to over mix the dough, it will end up too squishy and sticky and wont hold its shape as well
-try not to let the first rise go too far! I do this all the time because I forget about it, sometimes the dough rises to the top of the bowl! When this happens, I usually end up with bread that resembles large cookies instead of bread. I set a timer to remind myself to check on it, but quite often life happens, and I can’t get to it in time. Not a big deal though. It still tastes good!
-if you decide to put your starter away in the fridge for a while, make sure you put it in a clean and preferably sterilized jar. The starter jar can get pretty gross and gunky and you don’t want any bad bacteria interfering with your yeast!
Healthy and the Kids Love it!
I’ve recently started trying different flours like whole wheat and multi grain. They’ve tasted really good, and I’m sure are healthier than just plain white, however they don’t get quite as big and fluffy. I’ve also made buns using the same method, just smaller loaves.
I love that I’ve figured out how to make my own sour dough bread for my family. I don’t eat it every day, but my husband and kids sure do, and they love it. The best part is, it’s healthy, and not full of a bunch of chemicals I can’t pronounce!


[…] wife loves to bake and earlier this year she decided to make her own sourdough starter to keep up with all the bread we eat. After a couple of weeks of trial and error – following […]